Beginner Guide
Ledgerbound Difficulty Settings and Uninsured Difficulty: What Is Confirmed
A version-aware guide to Ledgerbound difficulty settings, the official Uninsured Difficulty balance note, and how to choose challenge without chasing a stale recommendation.
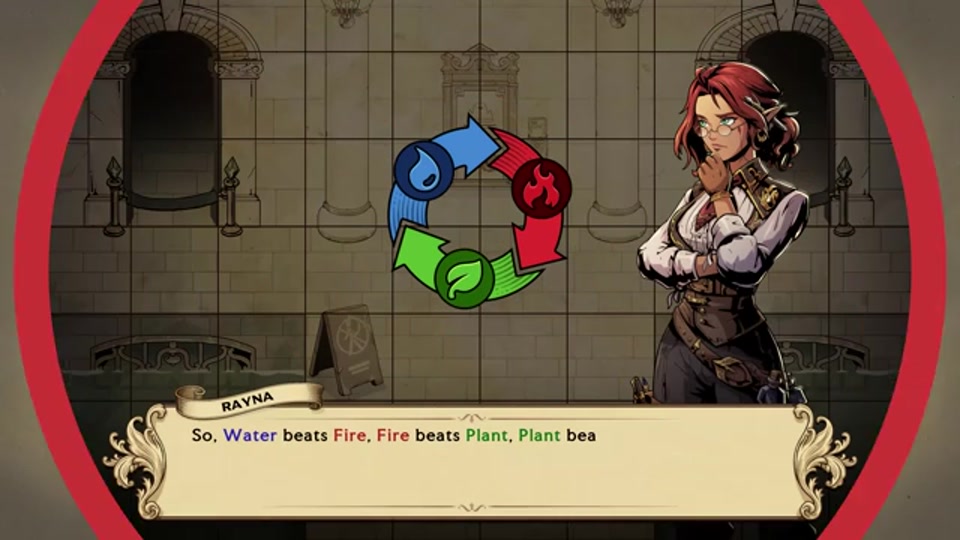
Difficulty is one of the first decisions a new Ledgerbound player may make and one of the easiest topics for an old guide to misrepresent. OmniMegaSuperCorp’s final-demo announcement confirms that difficulty settings were part of the demo’s additions. The first launch hotfix lists the balance of Uninsured Difficulty as a known issue. These two facts are enough to provide useful context: settings exist, and at least one challenge mode was still a live balance concern at launch. They are not enough to publish a permanent tier list, exact damage values, or a date for a future adjustment.
What the official sources establish
The final-demo post identifies difficulty settings alongside a UI overhaul, new portrait animations, Burn Out, camp conversations, and newsletters. That shows the team considered accessibility and challenge selection part of the player experience. The post also asked for feedback about difficulty, time, burnout, and performance. The later hotfix turns that feedback context into a live-game signal by listing Uninsured Difficulty balance among known issues.
Neither post gives a universal recommendation. The demo announcement does not define the final release’s numbers, and the hotfix does not say that a particular mode is unplayable, that a change will arrive on a particular date, or that every player will have the same experience. Treat a known-issues note as awareness, not a schedule or a verdict on your skill.
Choose a setting by purpose
Ask what you want from this playthrough. If you want to learn the tactical language and enjoy the story, use the setting that lets you see cause and effect without being stuck in one encounter for an evening. If you want an exacting tactical challenge, choose a setting that gives you the pressure you find satisfying and expect retries to be part of the experience. If you are returning after a patch, treat your first session as a chance to observe the current balance rather than assuming a remembered strategy still applies.
This is not “play easy” advice. It is an argument for intentional choice. A high setting can be excellent when you want to test decisions; it is a poor fit when you are tired, investigating a technical issue, or trying to experience a particular scene without repeated interruption. A lower setting can be an equally good choice when it helps you learn the systems that make later challenge meaningful.
Do not use difficulty as a status label
Difficulty is a configuration, not a personality test. The final-demo announcement asked for feedback precisely because different players can encounter the same design in different ways. A guide should not shame someone for changing a setting or promise that one setting is the “real” game. The most useful setting is the one that supports your goal and makes the game’s feedback legible.
If you raise difficulty, do it with a question in mind: can I better understand this encounter, test a different plan, or enjoy higher stakes? If you lower it, do it with equal clarity: do I want to progress through a story section, reduce repetition, or practice without pressure? Both choices produce information, and neither requires an internet permission slip.
Uninsured Difficulty and version context
Patch #1 names Uninsured Difficulty balance as a known issue. The responsible reading is modest. The developer recognized balance in that mode as an area of concern at the time the note was published. You should check later notes before relying on any launch recommendation. Do not extrapolate a hidden intended value, claim that every encounter is affected, or assume a single community workaround is developer-approved.
If a guide says “Uninsured Difficulty is fixed” or “Uninsured Difficulty is impossible,” look for a date and a direct source. Does it cite a newer patch? Does it identify a specific battle and game version? Without that context, it is an impression, not a reliable product fact.
Learn from a loss without changing everything
When a battle goes poorly, first reread the current objective and visible rules. Choose one variable to change—target order, position, action sequence, or the moment you commit a resource. Then retry through the game’s normal flow. This makes it easier to tell whether the challenge is a tactical puzzle, a misunderstood condition, or a technical issue.
Do not assume a loss proves your difficulty setting is wrong. One encounter can be designed to teach a new constraint. Conversely, do not assume repeated frustration proves you must endure it. If you cannot identify what the game is asking, changing the setting or seeking a bounded hint may be more productive than repeating a plan that provides no new information. Our tactical-puzzle guide offers a source-conscious learning method.
Separate balance feedback from bugs
An encounter that feels too hard is a balance observation. A repeatable freeze, a missing control, or an impossible reload can be a technical problem. Report them differently. For balance feedback, state the setting, mission, visible objective, what you tried, and why the feedback felt unclear or disproportionate. For a bug, include steps, expected result, actual result, version, and whether you can reproduce it.
The first official hotfix lists both balance and technical matters. That is a useful model: different problems can coexist without being reduced to “the game is broken.” Our bug-report guide includes a compact template and explains when official patch notes should be checked first.
Avoid stale challenge advice
Demo videos, launch reviews, and forum posts can all be helpful historical records. They become risky when they omit their version. Difficulty settings may have changed, and a known-issues list explicitly tells us that at least one balance topic was under review. Prefer content that names the build and the purpose of its advice. “This is how I cleared this mission on this setting” is useful. “Always select this mode” is not, unless it is directly backed by a current official instruction.
A sensible first-run routine
Start at a setting that lets you read the tutorial and observe tactical feedback. Play long enough to experience an ordinary encounter, not just a menu. If it is too easy or too punishing for your goal, adjust normally and note why. Revisit the choice after a few missions rather than treating the first selection as a permanent personal judgment. If the game’s current UI explains whether settings can change, follow that text instead of a generic guide.
For the associated time-pressure discussion, see Burn Out and time management. For current technical context, see Patch #1 known issues.
Bottom line
Ledgerbound’s public material confirms difficulty settings, and Patch #1 identifies Uninsured Difficulty balance as a known issue at the time of that note. Choose the current setting that serves your play goal, use losses to test one decision at a time, and check newer official patch notes before treating launch-era challenge advice as permanent. A clear, enjoyable learning loop is more valuable than a borrowed badge of difficulty.
Frequently Asked Questions
Does Ledgerbound have difficulty settings?
Yes. The official final-demo announcement lists difficulty settings among its additions. Check the current game for the available release-version options.
What is Uninsured Difficulty?
Patch #1 lists the balance of Uninsured Difficulty as a known issue. The announcement does not publish a permanent final tuning value or a fix date.
Which difficulty should I choose?
Choose the setting that supports your goal—learning, story, challenge, or replay—and reassess using current in-game text after updates.